
There are two methods to validate your entire sending domain: host a temporary file on your website or create a DNS record.
By adding an entire domain, all new sender addresses from that domain will be automatically verified when you add them to your account or send an email from them. If you have a pending sender address before you validate the domain, it will be validated. A domain verification will only be applied for the API key for which it was verified. If you want to use it for multiple subaccounts, you will need to verify the domain for each of them.
Validating a domain is recommended when you will be adding many sender addresses; otherwise, you can verify each sending address separately.
From the Sender domain & address page, click on ‘Add Domain’.
Enter your domain name, and optional label. Click ‘Continue’.
You will now select the method of validation:
Option 1: Host a temporary file on your website
As instructed, create an empty text file and upload it (FTP) to the root directory of your website. If you do not have FTP access to your website, please contact your website host provider for assistance.
After the file is uploaded, click the ‘Check now’ button.
Option 2: Create a DNS record
If you have access to your website’s DNS records, create a new TXT record with the values provided. (Contact your domain host provider for help on creating a DNS record).
Once the DNS record has been created, click the ‘Check now’ button.
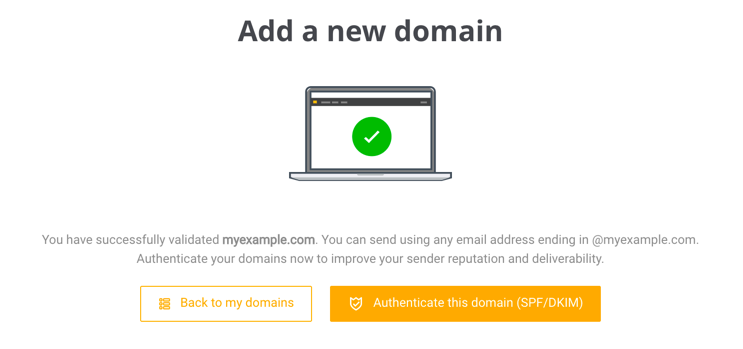
You will then see the ‘successfully validated’ screen, where you can setup your SPF & DKIM for your domain or return to your domain list.
If the domain validation was unsuccessful and you received an error message, please check the values used, specifically:
- For Option 1: Check the file name and ensure the file is empty (contains no text, no empty lines)
- For Option 2: Check the host name and values for the new TXT record
For further assistance and questions, please open a support ticket.