Summary
- What are Templates
- Create a Template
- Preview Your Template
- Test Your Template
- Save Your Template
- Save & Publish Your Template
- Edit a Published Template
- View Version History / Restore Previous Version
- Comments
- Managing Your Templates
- Organize Your Templates with Labels
- Template Publication Request
- Using MJML in Mailjet’s Email Editor
- Related Articles
What are Templates
A template is a reusable email design. Choose a layout and customize its text, images, colors, and sections. Mailjet offers Marketing, Transactional, and Automation templates for different sending workflows.
You can prepare an updated version of a published template without changing the version currently being used. Publish the revised version when it is ready.
Template Management Gallery
Your templates are organized by type in the Template Management gallery: Marketing, Transactional, and Automation. This is where you create, search, sort, edit, publish, export, download, and delete templates.
Each template can have a working draft and a published version, allowing you to update a design without immediately affecting its published version.
Template Statuses: Draft vs Published
- Published: The version available for use in campaigns, transactional messages, or automated workflows.
- Draft: A working version that you can modify without publishing the changes to impact existing workflows or users.
You can also see the status beside the template name in the Email Editor.
Create a Template
You can design templates for marketing campaigns, transactional emails, and automation workflows. Choose the creation method that suits your content:
- Save a design as a template while working on a campaign.
- Start from the gallery and customize a ready-made design.
- Start from one of your templates to reuse an existing design.
- Use HTML to import a file, upload a ZIP archive, or code from scratch.
- Use MJML to import MJML code or create a new responsive template.
Once you have finished designing, save or publish the template so it can be used again.
Using a Template from the Gallery or Your own Template
This example uses a marketing template. Open My marketing templates and click Create a new template.
Select either Using a template from gallery or Using one of my templates.
Choose a design, enter a name for your new template, and click Use this template.
The design opens in Mailjet’s Email Editor. Customize the content by reordering sections, adding elements, replacing images, and adjusting formatting. For a complete explanation, see Mailjet’s Email Editor.
Changes are saved automatically at intervals. You can also open the save menu and select Save draft.
- Preview the design and send a test email.
- Save it as a new template or replace an existing template.
- Save and publish it when it is ready.
With HTML
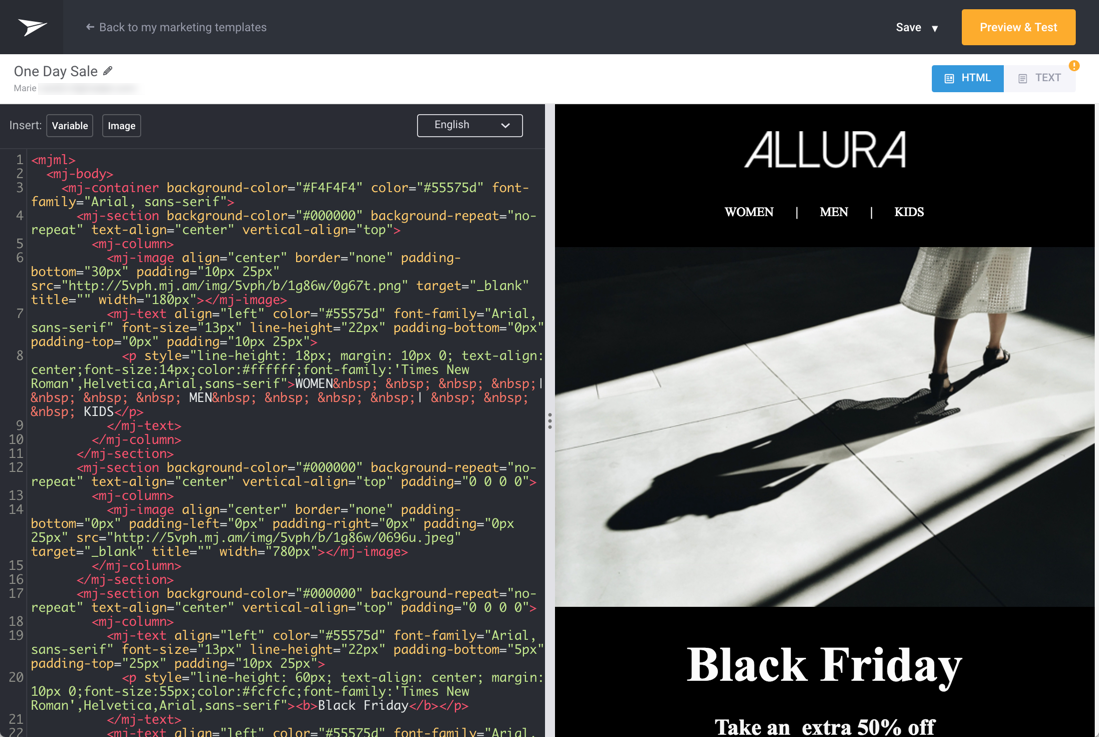
From My marketing templates, select Create a new template, then choose By coding it in HTML.
Choose how you want to supply your HTML:
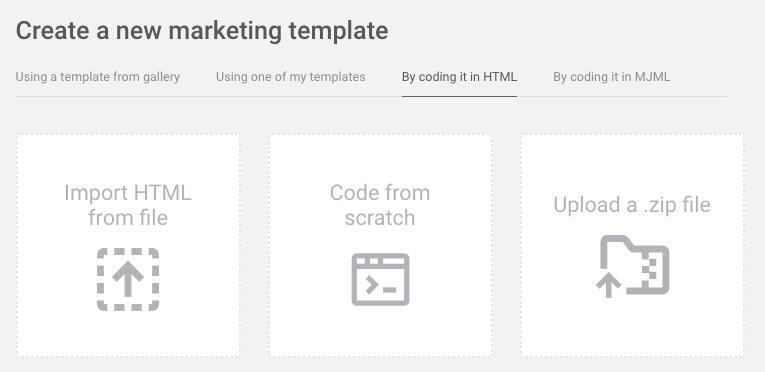
-
Import from File: Name the template and upload an
.htmlfile. - Code from scratch: Write HTML directly or paste code from an existing design.
-
Upload a ZIP file: Upload a ZIP containing the main HTML file at the root and the images in a separate folder. Supported image types are GIF, JPG, JPEG and PNG. Use relative image paths such as
./images/example.jpg, and make sure the paths and filename capitalization match the files in your archive.
After creating or importing the content, make your design changes, then preview and test the template.
With MJML
From My marketing templates, select Create a new template and choose By coding it in MJML.
You can import an MJML file or create a template directly in the MJML editor.
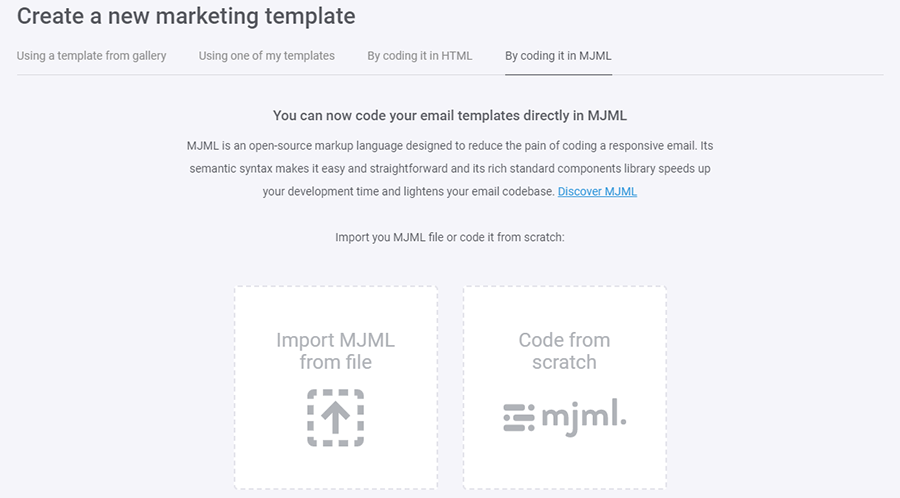
-
Import from File: Name the template and upload a file with the
.mjmlextension. - Code from scratch: Enter a template name and click Create to start writing MJML.
Review the MJML guidelines below before making changes. You can then preview, test, and publish the result.
Preview Your Template
Select Preview & Test → Preview email to see how the design adapts to different screen sizes.
Test Your Template
You can send test emails to as many as 10 recipients at a time. Test messages let you check the rendered design, content, images, and links in an inbox (rendering may differ by email client).
In the Email Editor, select Preview & Test → Send a test email.
For transactional templates, you can either send a test email or choose Use the Send API.
The Send API option shows the template version attribute that you need to add to your API call, along with sample code that you can easily copy.
Save Your Template
When editing a template or campaign design, use the save menu and select Save As to save the design as a new template or replace an existing template.
Save & Publish Your Template
To make a draft available for use, open it in the Email Editor and publish it. If you have permission to publish, select Save & Publish to gallery.
If you cannot publish templates, select Request publication and submit a publication request to a user with publishing rights.

Once published, the template appears in your gallery and can be selected when creating the relevant type of email or campaign.
You can edit the template later without replacing the published version until you publish the new changes.
Edit a Published Template
Opening a published template in the Email Editor lets you work on a new draft of that template. Draft changes are stored in the gallery but are not used by currently running campaigns or workflows until the new version is published.
Select Save draft from the save menu to keep your working changes without publishing them.
When your changes are ready, choose Save & Publish to gallery and confirm the update.
The previous publications remain available through Version History.
View Version History / Restore Previous Version
Version history records previous publications and publication requests, including who requested or approved a change and when the status changed.
Open history from the template gallery using Preview & History or from the Email Editor save menu using View publication history.
The history view shows the current version and up to five previously published versions. Select an older version to preview it.
Click Restore this version if you want to return to a previous version.
- Restore and edit draft: Load the selected version into the Editor and continue editing.
- Restore and publish immediately: Restore and publish the selected version in one action.
Comments
Collaborators with permission to edit a template can leave comments and discuss changes on individual content blocks.
Comments Panel
Click the comment icon in the Editor to open the panel. Comments are organized into opened and resolved groups.
Add a Comment
Select the comment icon on a content block, enter your message, and click Comment. The comment displays its author and date.

Reply to a Comment
Select an existing comment, type your reply, and post it. The comment author receives a notification about the reply.
Edit/Delete a Comment
Use the options icon on your own comment or reply to edit or delete it. Deleting a comment also deletes its replies.
Resolve/Re-Open a Comment
A collaborator with edit permission can click Resolve to close a discussion. Resolved comments move to the resolved group and can be reopened with Re-open. Status changes generate an email notification for the comment author.
Managing Your Templates
Template galleries are organized into Marketing, Transactional, and Automation. You can manage names, labels, versions, and access your template actions from these galleries.
The examples below use marketing templates, but most gallery actions apply to other template types too.
Grid & List Display
Switch between Grid (default) and List views using the display controls located to the right of the Sort by dropdown menu.
Template cards and rows show the template thumbnail, name, labels, last update, and Draft or Published status.
Hover over the relative last-update text to see its exact date and time.
Sorting Options
Use the Sort by dropdown to arrange templates by:
- Name (alphabetically): Sorts templates in alphabetical order.
- Updated (new-old): Displays the most recently updated templates first.
- Updated (old-new): Displays the oldest updated templates first.
Searching for Templates
The search functionality allows you to quickly find templates in the gallery using multiple criteria. Simply type your query in the Search box, and the results will dynamically update to match your input.
You can search by:
- Template Name: Enter the name of the template to locate it directly.
- Template ID: Use the unique identifier of the template to find it.
Click a template in the search results to open it directly in the Email Editor, where you can edit it.
Filtering Options
To narrow down your search results, use the Filter by options. Filter the template gallery by one or more Labels, or select a specific Language or locale.
Duplicate a Template
Open the template’s Options (three dots) menu and choose Duplicate.
Change a Template Name
In the template gallery, open the template’s Options menu (three dots), select Edit information, and enter the new template name.
Delete a Template
To delete a template, open its Options menu (three dots) and select Delete.
Download a Template
Availability
This feature is included in the following plans.
- Free
- Starter
- Essential
- Premium
- Custom
To download a template to your computer, open the Options menu (three dots) → Download as and select either HTML file or MJML file. You can then use that file outside Mailjet.
Export a Template
To copy a template to another gallery or a subaccount, open the Options menu (three dots) → Export, choose the destination, specify its name, and confirm.
Bulk Content Sharing
The Bulk Content Sharing feature allows you to copy multiple templates at once - across different sections of your account (e.g., from Marketing to Automation, Transactional, or even to a sub-account).
- Open Templates → My marketing templates (or the relevant Transactional or Automation gallery).
- Select the checkboxes beside the templates you want to share. A selection count appears.
- Click Share to open the export dialog.
- Choose an available destination: your Automation templates, Transactional templates, or a subaccount.
- Click Export.
If you export to a subaccount, select the destination account when prompted. The exported templates keep their existing names - rename them later in the destination gallery if needed.
Organize Your Templates with Labels
Labels help you categorize and find templates, for example, to identify special events, holidays, seasonal templates, geographical locations, client groups, and much more. A template can have multiple labels, and the same label can be used across Marketing, Transactional, and Automation galleries.
Create a Label
Open the Labels controls in your template gallery and choose Create new label.
In the Manage labels window, select Create label, enter a unique name, and choose a color. The color picker supports custom colors. Save the label when finished.
Manage Your Labels
In the Manage labels window, existing labels appear alphabetically with controls to edit or delete each one.
Search Labels
Use the search field in Manage labels to filter the list while typing.
Edit Labels
Click the pencil icon beside the label, update its name or color, and save.
Delete Labels
Click the delete icon beside a label and confirm.
Apply & Remove Labels to a Template
Open the template Options → Apply labels menu. Select the labels you want to assign, and remove any selected label using its x control. Click Save.
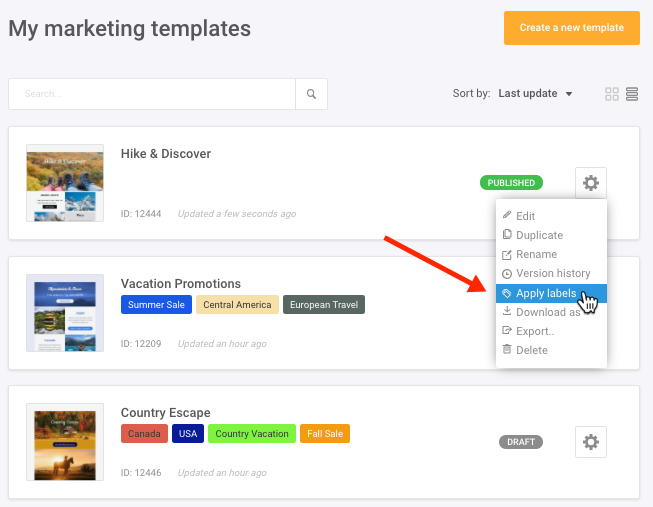
In List view, labels appear beneath the template name.
In Grid View, labels appear as colored dots on each template’s thumbnail. Hover over a dot to see the full label name.
If a template has more than two labels, only the first two are displayed as colored dots, followed by a number indicating how many additional labels are assigned to the template.
Template Publication Request
Users who may edit templates but do not have permission to publish them can request publication from an authorized collaborator. The same workflow also applies to saved sections.
Send a Publication Request
Open the draft in the Editor and select Request publication.

Select a teammate with publishing rights, add an optional message, and choose whether to block further edits while the request is pending. Click Send Request. The selected approver receives an email notification.

You will receive an email notification when the request is approved or rejected.
View All Pending Approvals
Pending publication requests are indicated in the template gallery, with a Marker in Grid view or a Pending request status in List view.

Open the template and click View request to see who submitted it and when.

Modify or Cancel a Pending Approval
The person who sent the request can modify or cancel it. A collaborator with editing rights can also edit a pending request on the template. Open the template and click View request.

- Cancel request: Click Cancel request, add a reason if required, and confirm. The relevant parties receive an email notification.
- Edit request: Click Edit request, adjust the approver or message, and save. Both the previous and new approvers are notified if the approver changes.


Approve or Reject a Publication Request
Anyone with publishing rights can approve or reject a publication request, even if they are not the person originally selected as approver. Open the template, click View request, and choose Approve and publish or Reject request.

The requester and, where applicable, the assigned approver will receive an email notification.
Using MJML in Mailjet’s Email Editor
When preparing MJML in the current Email Editor, observe the supported components and the unsubscribe requirements for your template type.
- Supported components:
mj-button,mj-column,mj-container,mj-divider,mj-image,mj-section,mj-social, andmj-text. - Marketing templates must contain an unsubscribe link, such as
[[UNSUB_LINK_EN]]. - Automation templates must include a workflow exit link such as
[[WORKFLOW_EXIT_EN]]or[[WORKFLOW_EXIT_UNSUB_LINK_EN]].
An imported MJML template can be edited using the MJML code editor. To enable editing through the drag-and-drop builder, the template must meet these requirements:
- The template uses a width of 600px (
mj-containermaximum width of 600px). - No section has more than four columns.
- The file does not use
mj-style. - Only the supported components listed above are used.