
- Introduction
- Pre-installation Instructions
- How to Install and Configure
- How to Use the Mailjet Subscription Form
- Mailjet Contacts
- Mailjet Campaigns
- Mailjet Triggered Marketing
- Mailjet Dashboard
- Mailjet My Account
- Mailjet Upgrade
- Troubleshooting
- Conclusion
Introduction
The Mailjet Drupal module provides complete control of your Drupal Email using Mailjet. It not only replaces your default Drupal transactional SMTP service, but is also a fullstack email marketing solution for your Drupal site. The natively embedded plugin allows you to get the benefit of Mailjet’s leading email design, deliverability and tracking inside your Drupal admin. This will help you optimize your outbound marketing and transactional email campaigns.
Mailjet has extensive reporting tools and advanced statistics to help you monitor and optimize your emails, including a special statistic for Drupal Commerce users called ROI Stats, which allows you to see how many new sales and new revenue your marketing campaign generates for your Drupal store.
Pre-installation Instructions
The Mailjet module is available for both Drupal v7.x and Drupal v8.x.
However, the functionalities differ slightly, so if you are using Drupal 8, please visit our dedicated Drupal 8 User Guide.
Required Modules
The following modules need to be installed before the Mailjet Drupal module:
- Views (download link)
- Views Bulk Operations (download link)
- Entity (download link)
- Chaos tool suite (ctools) (download link)
Recommended Modules
Although it is not required, we recommend the following modules, which will allow you to access the full Mailjet feature set:
- Commerce (download link)
- For the statistics sub module, to enable the ROI feature install:
- Views Date Format SQL (download link)
- Charts (download link)
- For the list module, you need to install:
- Viewfield (download link)
How to Install and Configure
How to Install the Mailjet Module
- Go to the Mailjet Plugin page in the Drupal website and download the plug-in, or copy the download link to your clipboard.
-
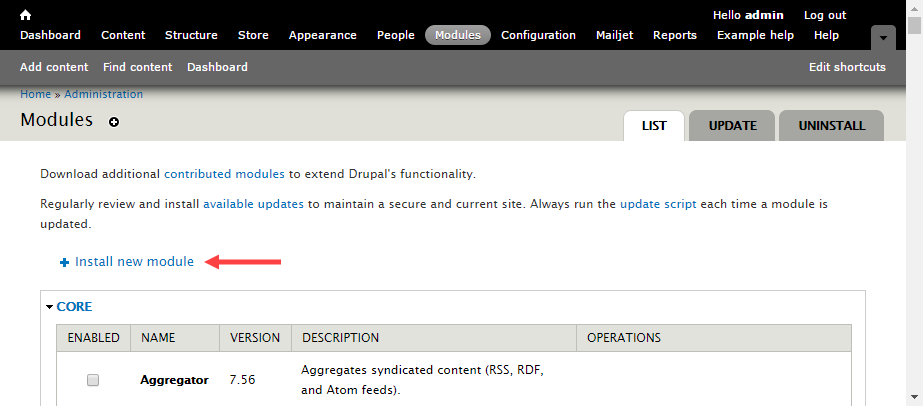
Log into Drupal as the Administrator, click on ‘Modules’ and then on ‘Install new module’.
-
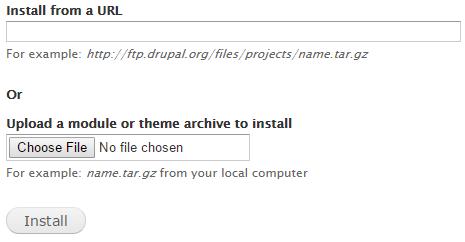
Paste the plug-in download link in the ‘Install from a URL’ field, or choose the downloaded plug-in file from the ‘Upload a module or theme archive to install’ menu. Afterwards click on ‘Install’.
-
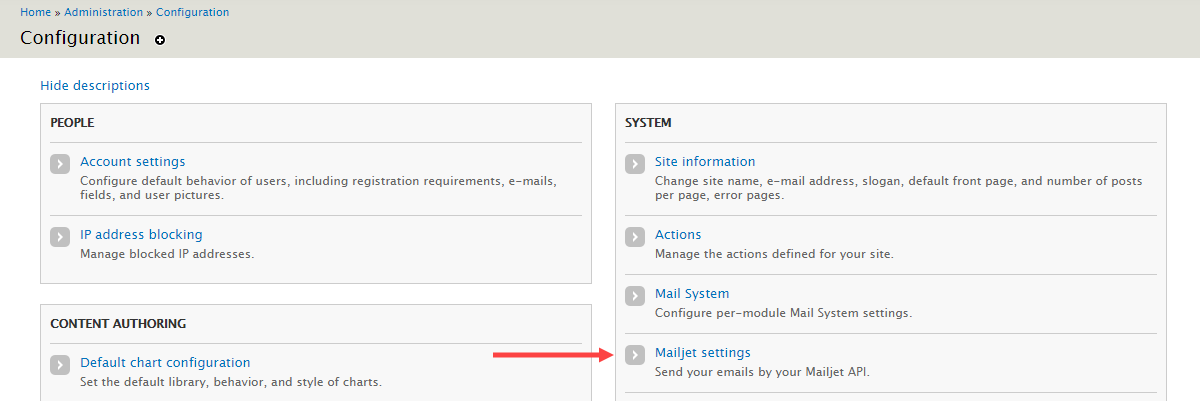
Once the installation is successful, from the Drupal admin menu select ‘Configuration’.

-
From the ‘System’ section choose ‘Mailjet Settings’.
-
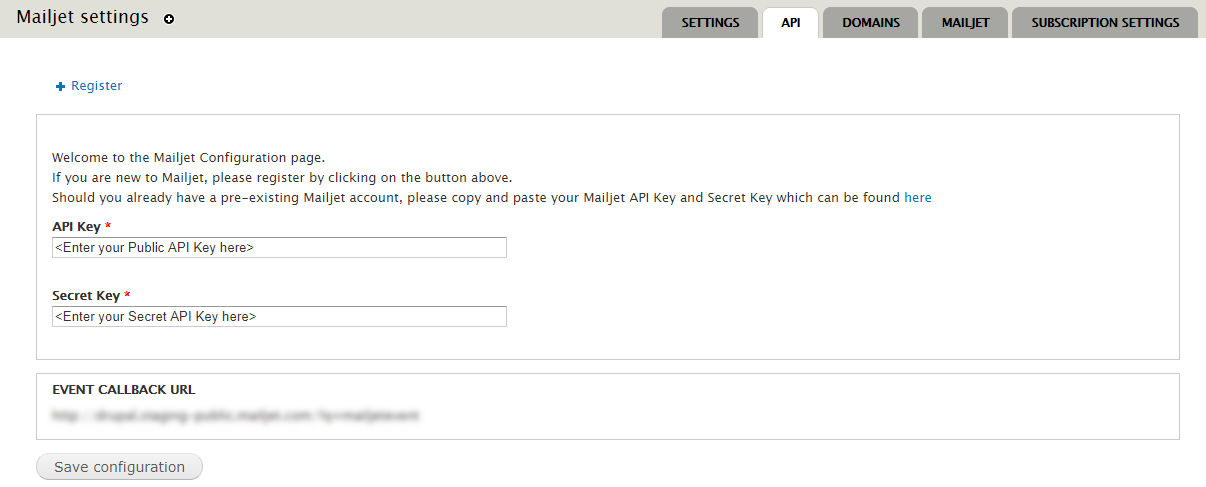
In the Mailjet Settings page, select the ‘API’ tab.
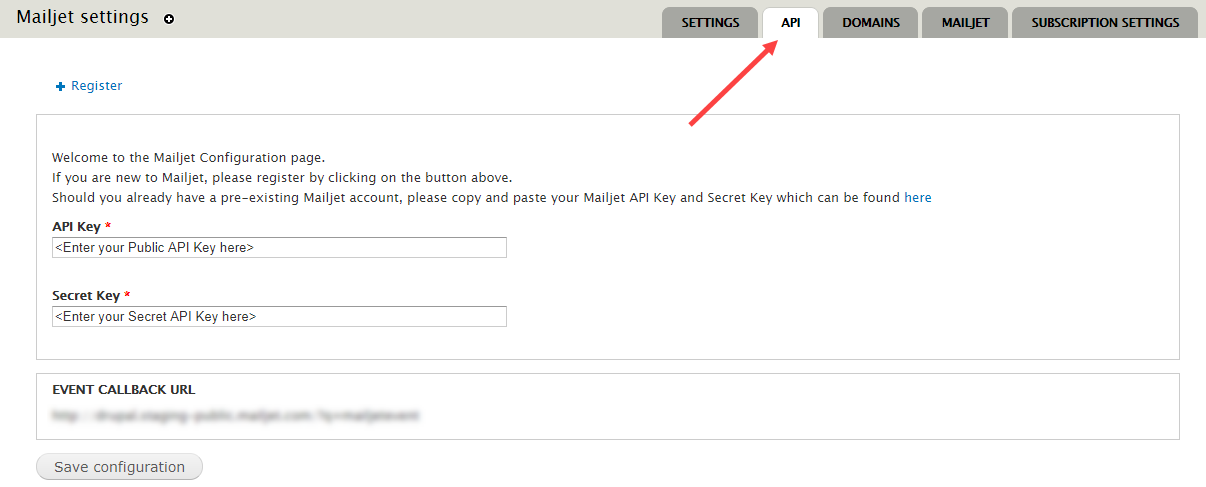
You will need to enter your Mailjet API Key and Secret Key. This will replace your default SMTP information and allow Drupal to send all your emails through Mailjet. You can find the API Key and Secret Key information in your Mailjet API Key Management page.

-
Enter your API Key and Secret Key as shown below, and then click on ‘Save configuration’.


Once your configuration is saved, your Mailjet account will be linked to Drupal. Your Drupal contacts will be automatically transferred to a new Mailjet Contact List, along with the contact properties configured in Drupal.
How to Configure the Mailjet Module
Select Mailjet Sender Email Address
The Mailjet module uses the sender email address you have selected for your website in the Drupal settings.
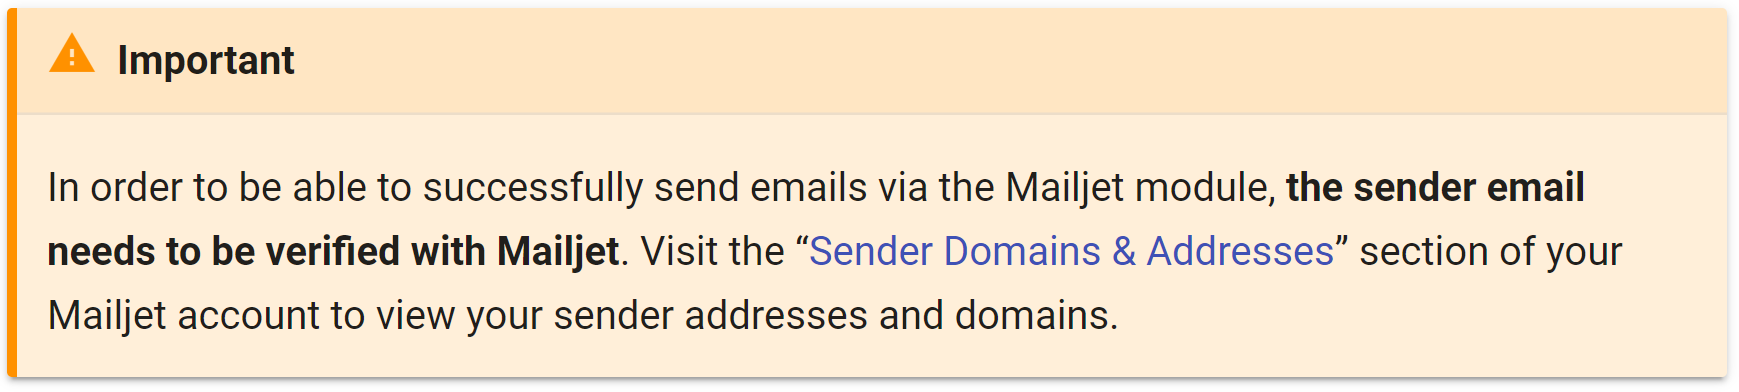
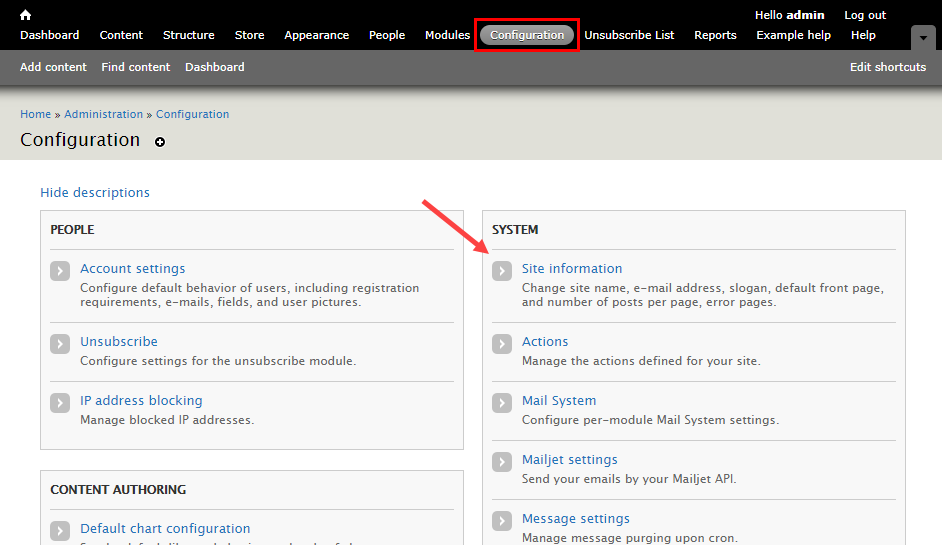
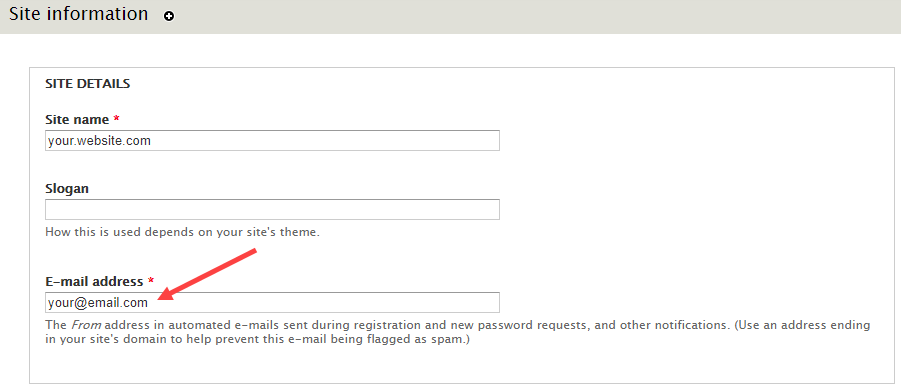
To view / change your site’s email address, select ‘Configuration’ → ‘System’ → ‘Site Information’ from the Drupal admin.
Then enter an email address that is verified in Mailjet and click on ‘Save Configuration’ to save your settings.
Add Mailjet Settings Shortcut
To be able to quickly access the Mailjet module, it is useful to add a shortcut to it to your ‘Default shortcuts’.
Simply go into ‘Mailjet Settings’ and click on the + sign next to the module name.

The shortcut will immediately be added to the respective menu.

Settings Tab
Let’s examine the sections in the Settings tab and how you can configure them. Please remember that for any changes to take place, you need to click on ‘Save Settings’ afterwards!
Send Test Email
The first step is to send a test email and verify that the Mailjet configuration is correct.
Click on the ‘Send test email’ button.

Enter an email address and click ‘Send Test Message’.
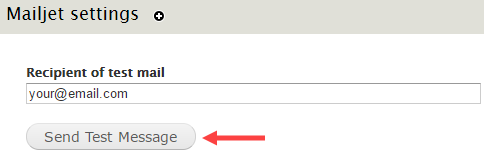
Check your inbox for an email with the subject “Your test mail from Mailjet”.
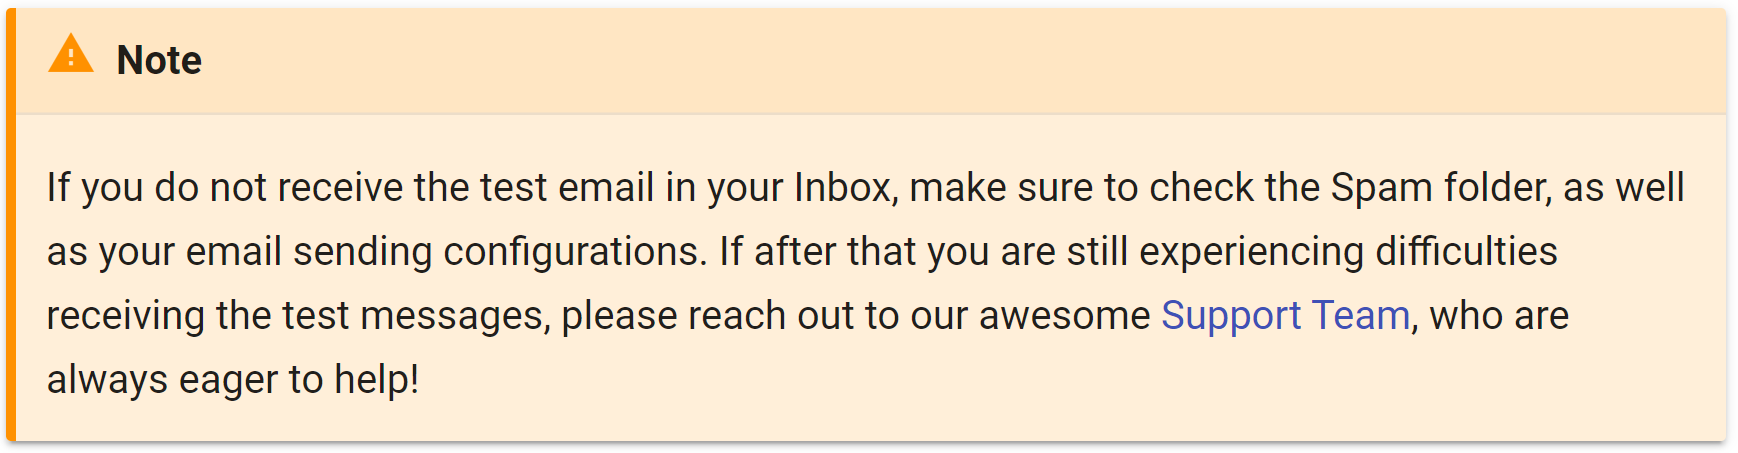
Excellent, the Mailjet module is correctly configured!
Send Emails through Mailjet
Now for the most important setting - check the “Send emails through Mailjet” box.

By enabling this checkbox, you are allowing Mailjet to send all of the emails emanating from your Drupal environment (transactional emails and marketing campaigns). With Mailjet’s SMTP relay, you will have access to real-time statistics, triggered marketing events, order statuses, ROI on campaigns, optimized email deliverability and much more.
Allow HTML

Tick this checkbox, if you want your emails configured and sent from Drupal to include HTML code. If the option is not enabled, Drupal emails will be automatically converted to plain text by Mailjet.
Event Tracking
The next step is to select the events to be tracked automatically with the Event Callback URL.
Event Callback (or Tracking) simply means whenever there is an event, information about it is dispatched to the provided Callback URL, containing meaningful context about the event (like the recipient email, timestamp, etc). From here, the customer can script actions to be done following it.
To start tracking email events of your choice, first choose the ones you are interested in by ticking the checkboxes next to them in Drupal. In the below example, we have selected only the ‘Unsub’ event.
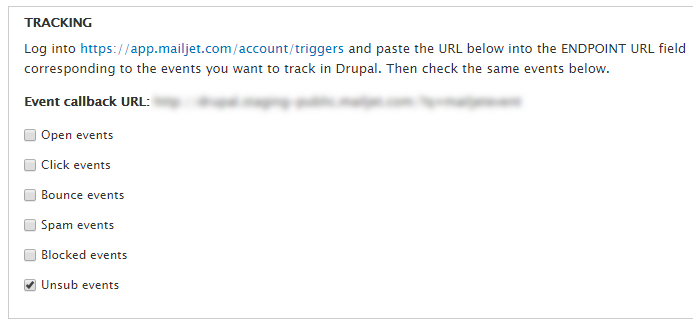

Then copy the displayed Event Callback URL and paste it into the Event Tracking page of your Mailjet account:
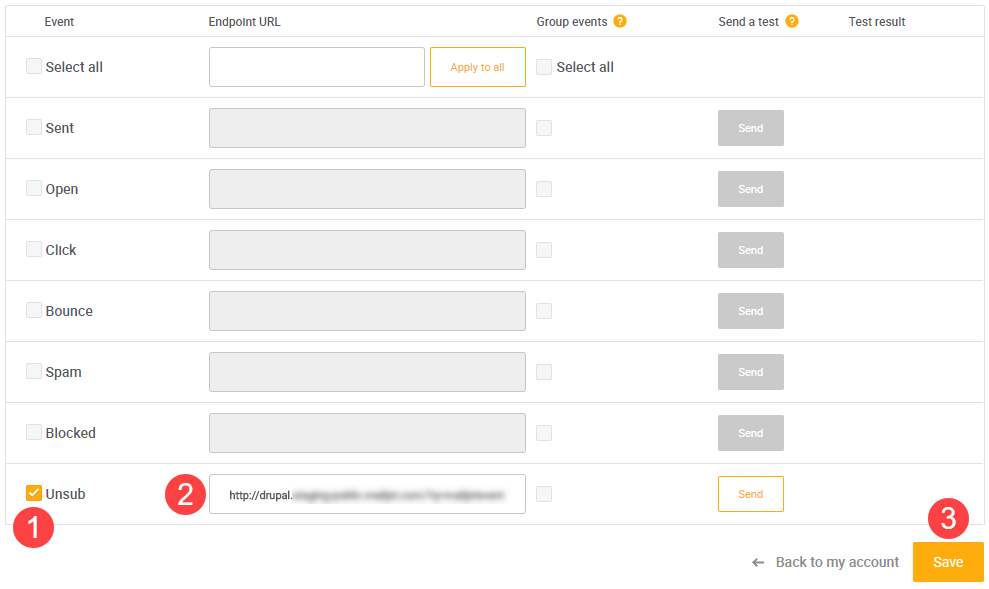
- Tick the checkbox next to all events you want to track.
- Paste the URL into the ‘ENDPOINT URL’ boxes of the respective events.
- Click on ‘Save’ to submit the changes.
A message will appear informing you about the events you are tracking now.

Account Information
The last section of the Mailjet module’s ‘Settings’ tab is the (Mailjet) Account Information.
Changes made here will be automatically reflected in the Profile page in your Mailjet account.
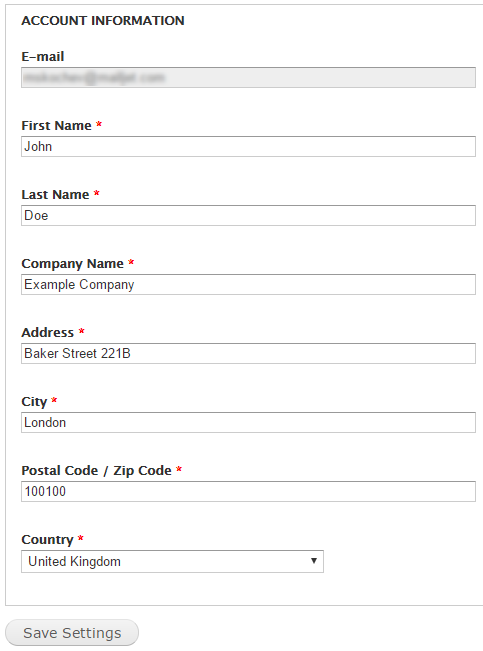
Again, remember to click on ‘Save Settings’ when you make any changes!
Mailjet API
Configure the default SMTP settings to send all email through Mailjet.
API & Secret Key: You have already entered this information but in the event that you get a new API & Secret Key, you would simply update the information here.
The ‘Event Callback URL’ section here shows the same URL displayed in the ‘Event Tracking’ section.
Mailjet Domains
This tab will list all the configured domains you have as per the Sender Domains & Addresses page of your Mailjet account. By configuring an entire domain, you can add sender addresses from that domain without having to manually validate each one.
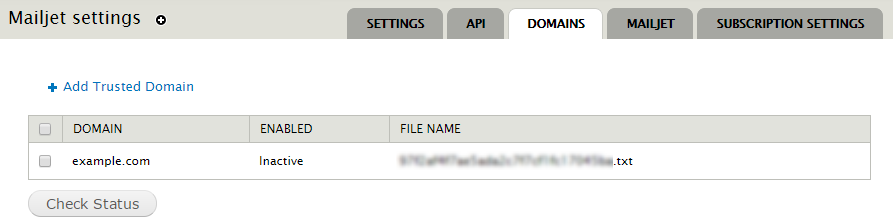
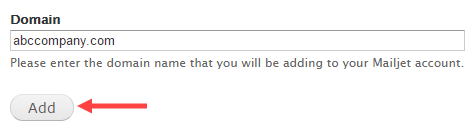
To add and configure a new domain, click on ‘Add Trusted Domain’, then enter the domain name and click on ‘Add’.
Once added, you will see the domain being added to your list of trusted domains, but will be shown as ‘Inactive’.
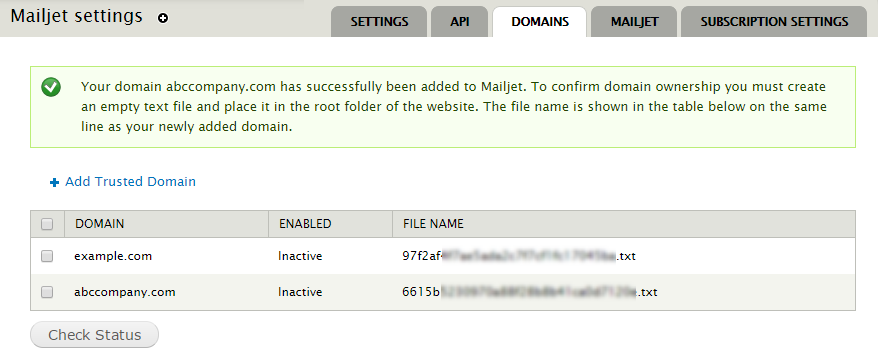
To activate it, you need to upload an empty .TXT file with the file name shown next to the root directory of the respective site. Then go back to the Mailjet Domains section and click on ‘Check Status’.
Mailjet will check if the file exists on the site, and once it finds it, the domain will be validated. Afterwards you can delete the .TXT file.
Congratulations! You have completed the installation and configured of the Mailjet module.
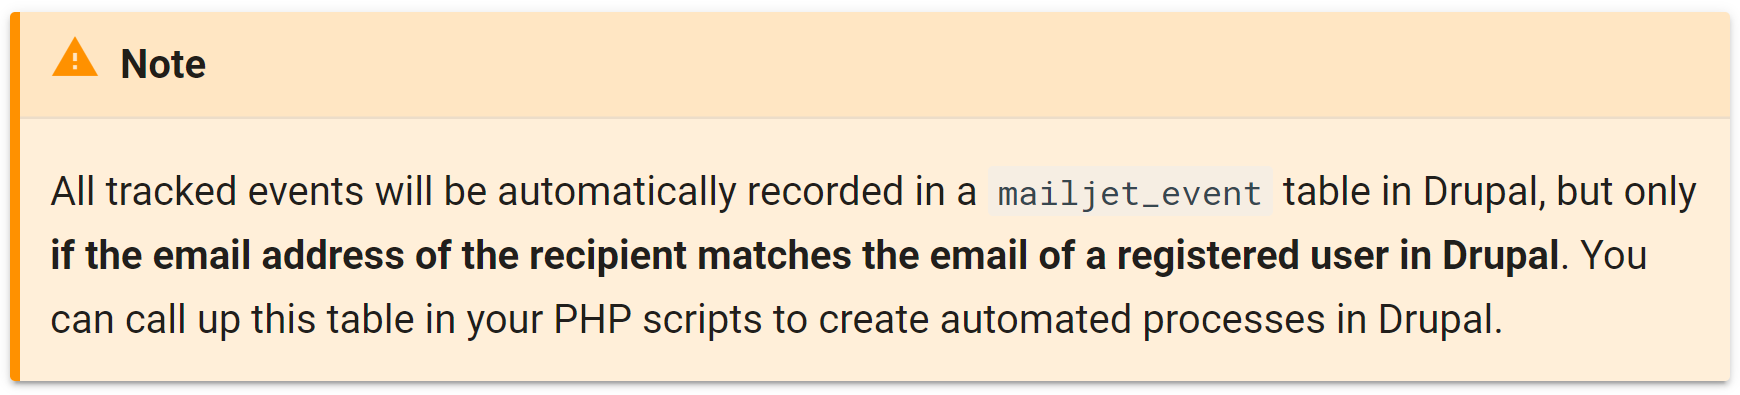
Using Event Tracking with Drupal Rules
You can use Event Tracking to create automated processes in Drupal, saving yourself valuable time and effort. This can be done either by creating PHP scripts yourself and implementing them in Drupal, or by using Drupal Rules.

To access the Rules module, go to ‘Configuration’ → ‘Rules’.
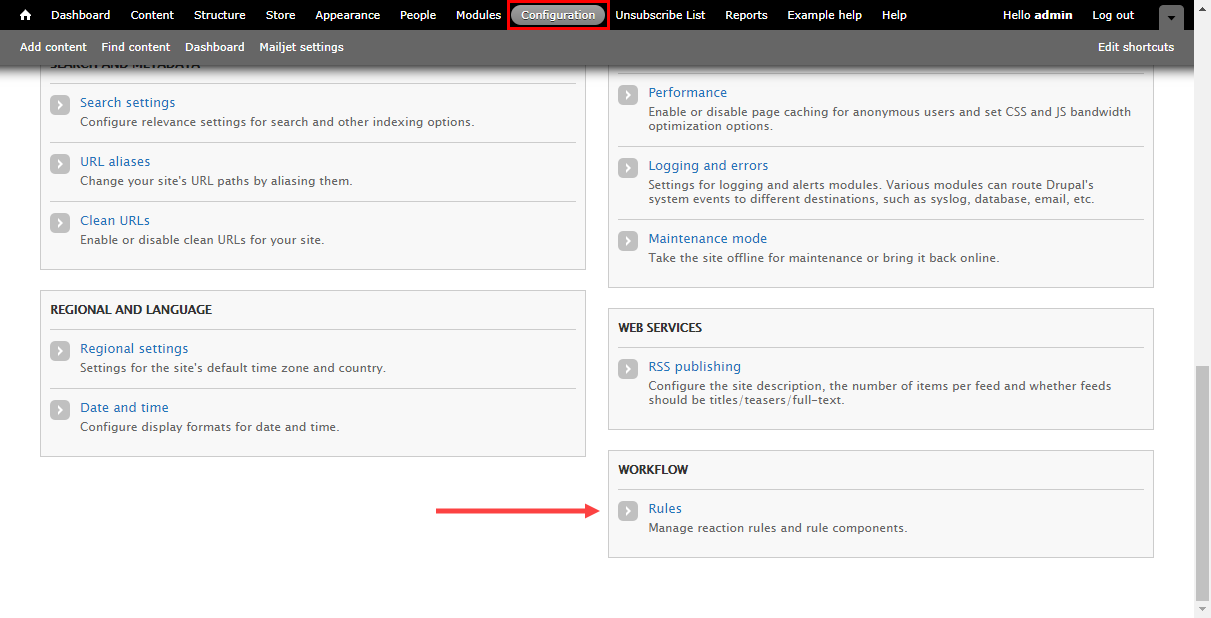
Select the ‘Add new rule’ option to start creating your Rule.

You will need to choose a Rule Name, as well as select the trigger - the event, which will activate the rule. You will find the Mailjet events in the drop-down menu under ‘Mailjet’ and ‘Mailjet event’.
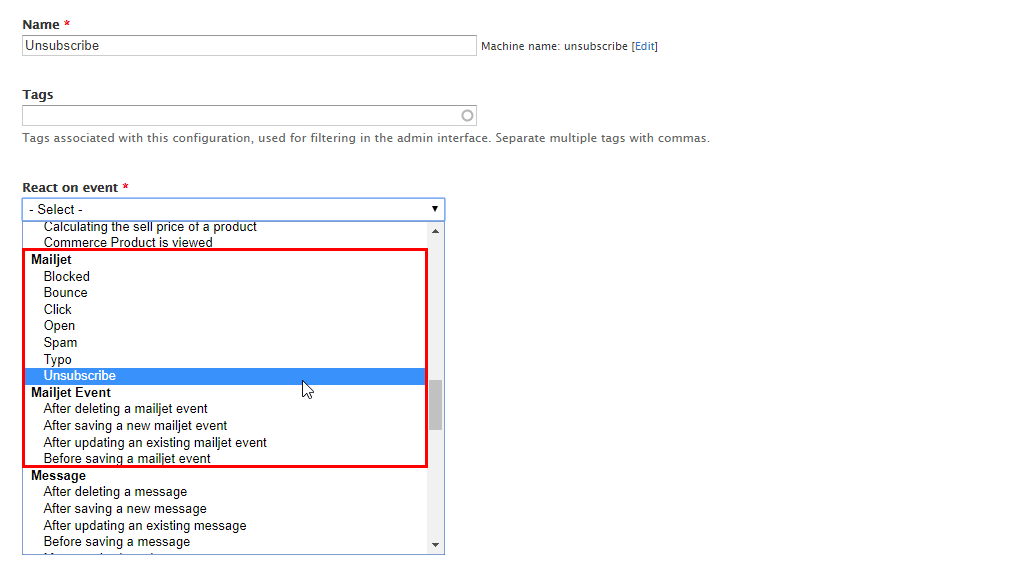
Click on ‘Save’ to save your trigger event selection.

You will then need to select additional conditions, as well as the actions your Rule should undertake when it is triggered.
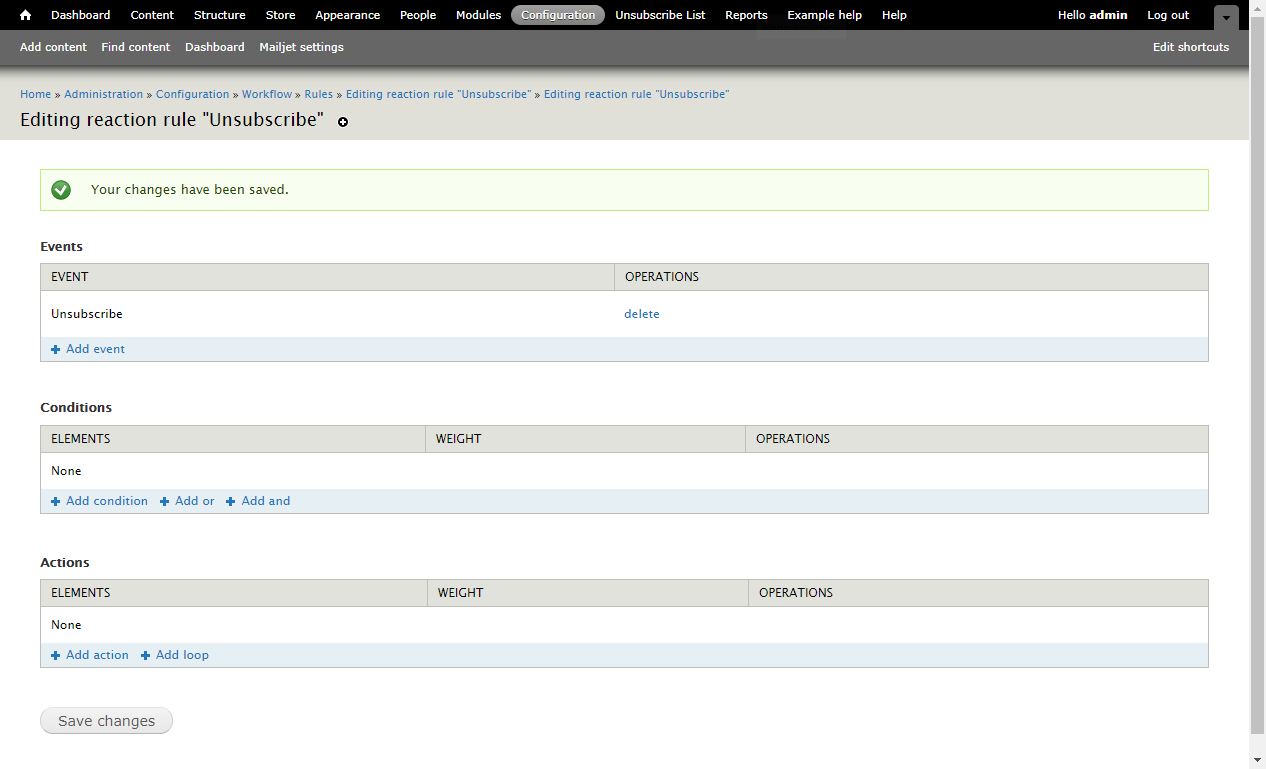
Once you have configured your Rule, click on ‘Save changes’ and it will become active!